
The purpose of this document is to define and map the email templates triggered based on specific system actions and events. It provides clear visibility into when and why each communication is initiated, ensuring consistency, transparency, and proper workflow tracking across the application.
Tenant Registration Process:
1. Once our team registers you with XeopleRecruit, you will receive a registration email containing the details and instructions required to complete your account setup and registration process.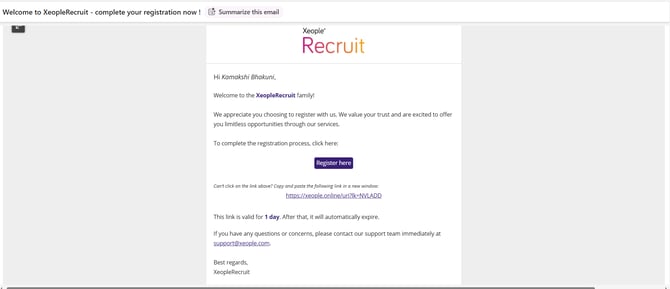
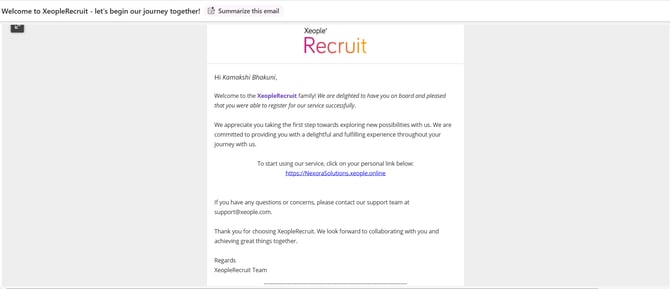
2. Upon successful registration with your company details and site name, you will receive an email containing a secure link to access and start using the XR platform.
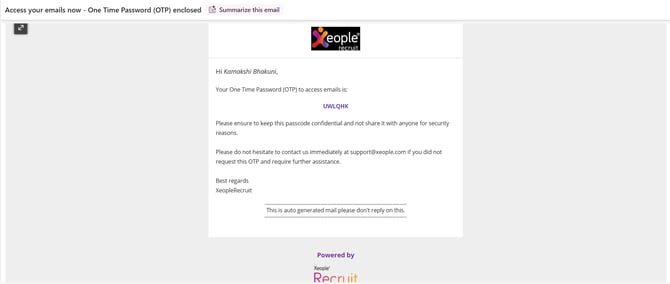
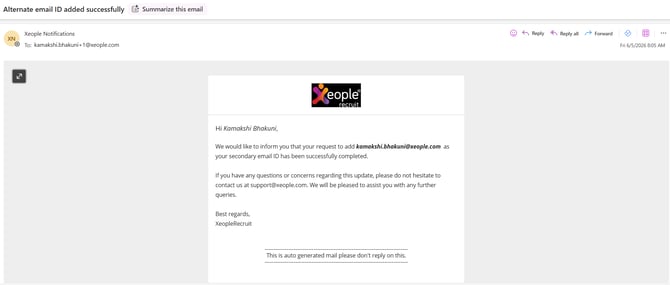
3. Upon logging into the XR platform, you will be prompted to complete the MFA setup process by providing an alternate email ID. Clicking on Continue will trigger the OTP verification screen. You will receive an email containing the OTP required for verification. Upon successfully entering the OTP, a separate confirmation email regarding the alternate email ID setup will be sent to the registered email address.
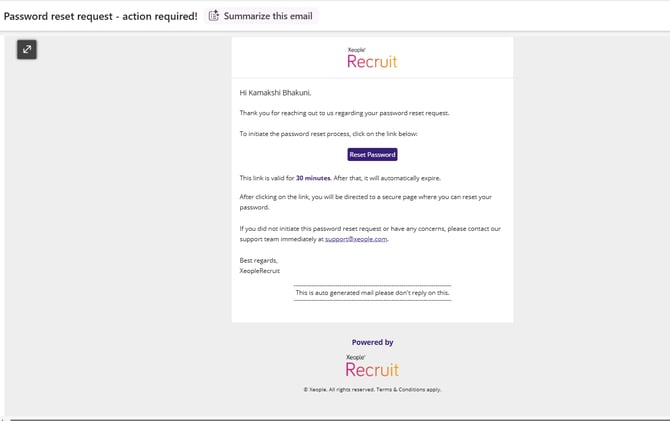
4. On the XR login page, enter your email address and password to log in. If you forget your password, click Forgot Password? to receive an email with instructions to reset it.
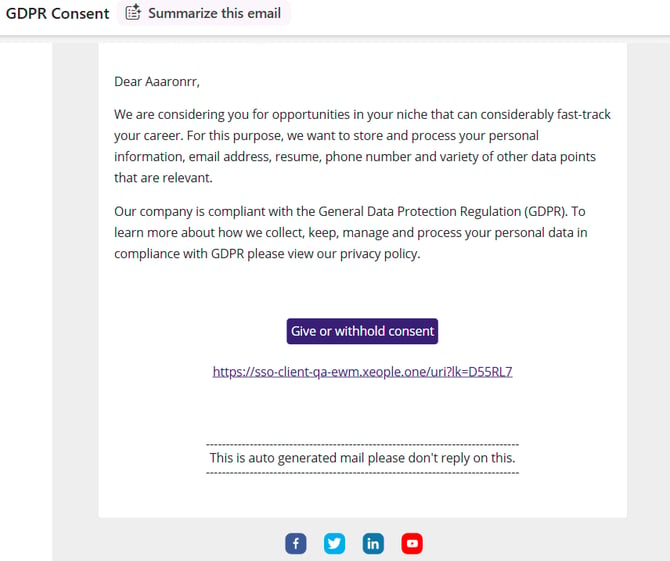
5. When candidates are created through any source such as Job Boards, Xeople SmartEmail, Forms, Application Forms, or EOH, you can either automate the GDPR consent request via Profile > Administrator > GDPR Compliance > Automatic Consent Request or manually request it from the Candidate Summary Page by navigating to the three-dot menu and selecting Request GDPR Consent. Once triggered, the candidate will receive an email requesting GDPR consent.
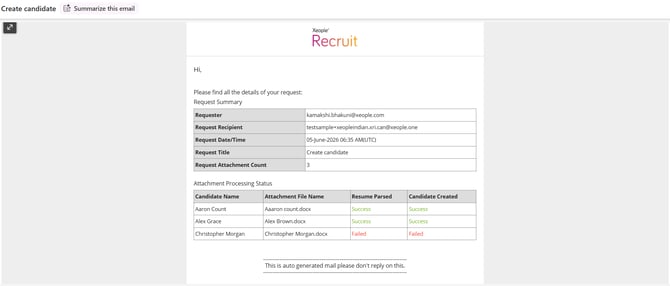
6. By enabling Xeople SmartEmail from Profile Picture > Administrator > Xeople SmartEmail and attaching candidate resumes to the Xeople-generated email ID provided, candidates will be created automatically. Once processed, an email notification will be triggered displaying the status.
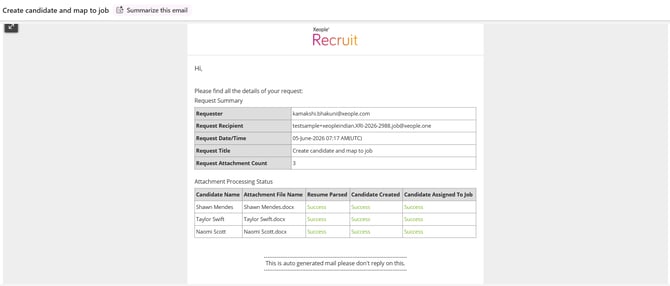
7. Navigate to any Job Summary page, click the three-dot menu, and select Generate Xeople Smart Email. This action will create candidates, map them to the specific job, and trigger an email containing the status update.
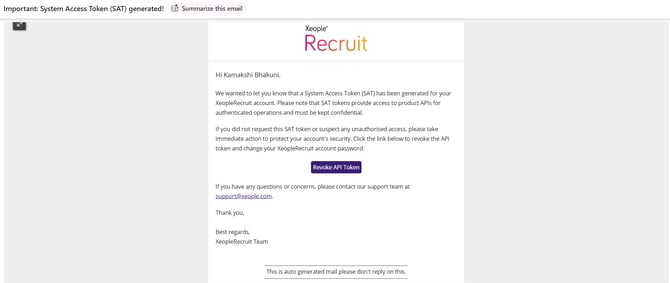
8. Navigate to System Access Token (SAT) by clicking Profile Picture > Administrator > System Access Token. Generating a token from this page will trigger an email notification.
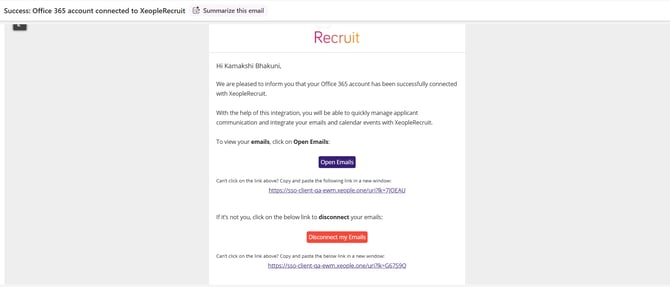
9. You will receive a confirmation notification after successfully connecting your Microsoft 365 or Gmail account through Profile Picture > Email Integration > Microsoft 365/Gmail.
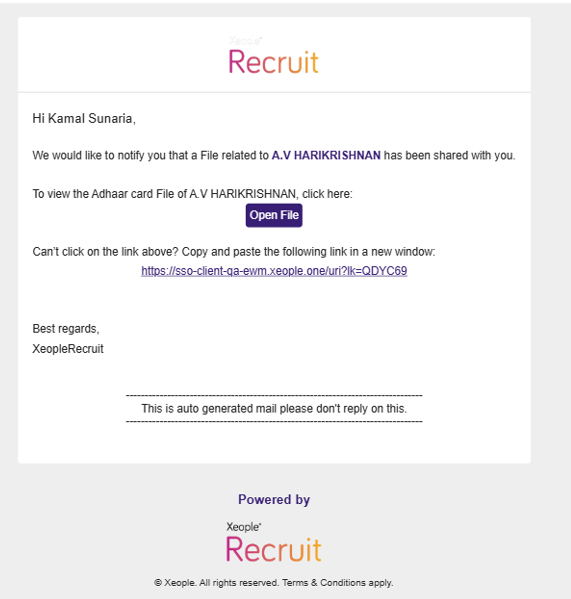
10. When sharing a candidate document externally via Candidate Summary > Documents > Three-Dot Menu > Share, an email notification will be sent to the recipient with whom the document has been shared.
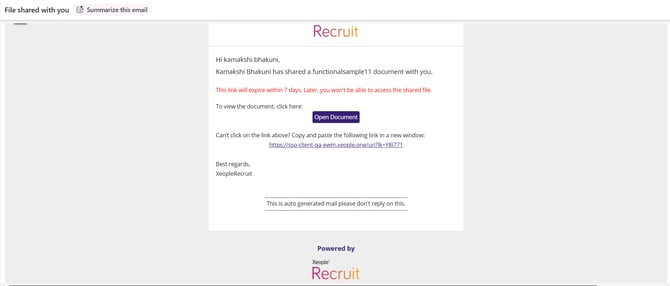
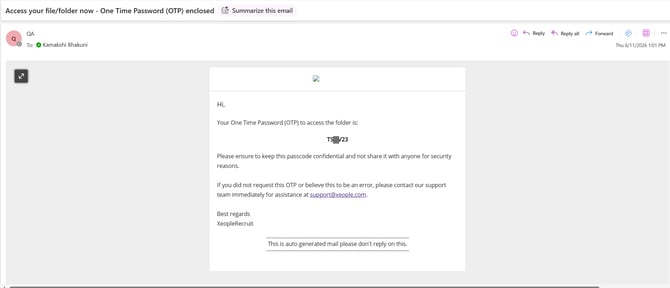
11. When a candidate document is shared externally, the recipient will receive an email notification. Clicking the Open Document button in the email will open the OTP verification screen. Selecting Generate OTP will trigger an email containing a one-time password (OTP), which can be used to access the shared document.
12. When sharing a candidate document internally via Candidate Summary > Documents > Three-Dot Menu > Share, an email notification will be sent to the recipient with whom the document has been shared.
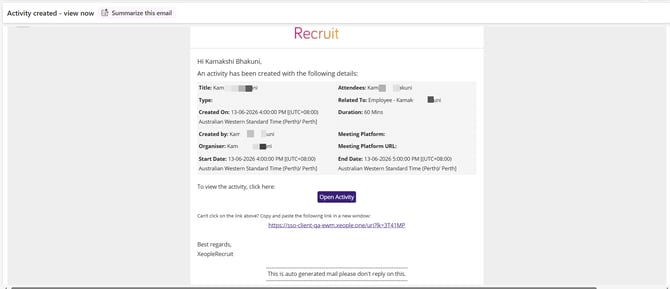
13. When you create a Meeting/ Task from Home > Meeting/Task > Employee > Related To or from the Employee section for example, the system sends an email to the selected employee containing all the meeting or task details.
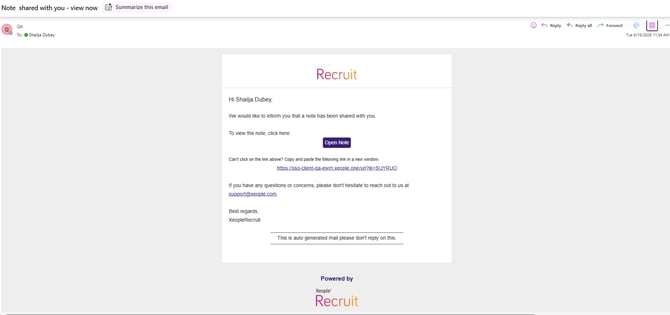
14.When a Note is shared in Protected Mode access, an email notification is automatically sent to the specified email address, informing the recipient that the note has been shared with them.
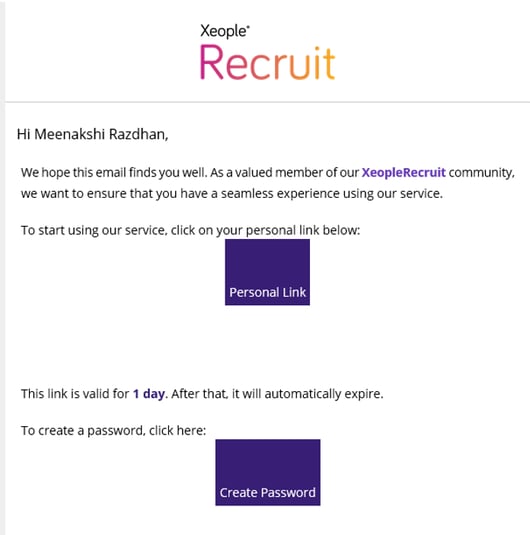
15. When a user is invited through User Management > Users > Add User, an email is automatically sent to the invited user containing the application login link and a link to create their password.
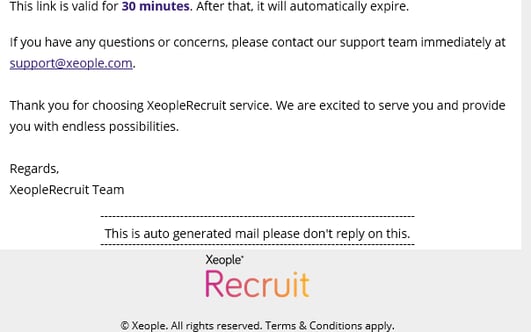
16. When a candidate resume is shared from Job Summary > List View > Share Resume, an email is automatically sent to the specified recipient.
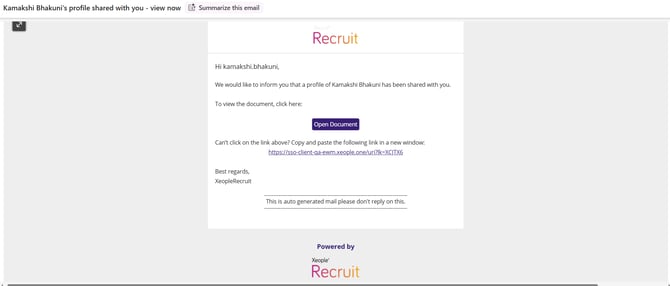
17. When a job apply link is shared via Job Summary > Three-Dot Menu > Share Job Apply Page Link, an email is automatically sent to the specified recipient containing the job application page link.
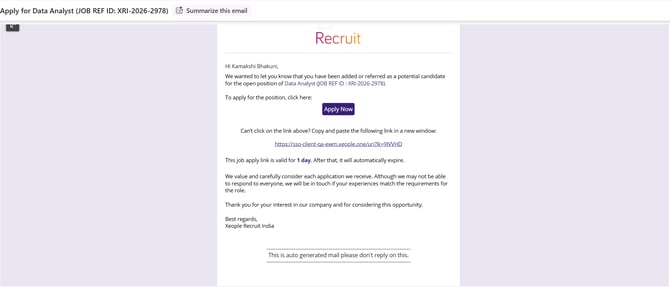
18. When a job is created with the access level set to Protected and saved, an email notification is automatically sent to the recipient(s) specified in the To field.
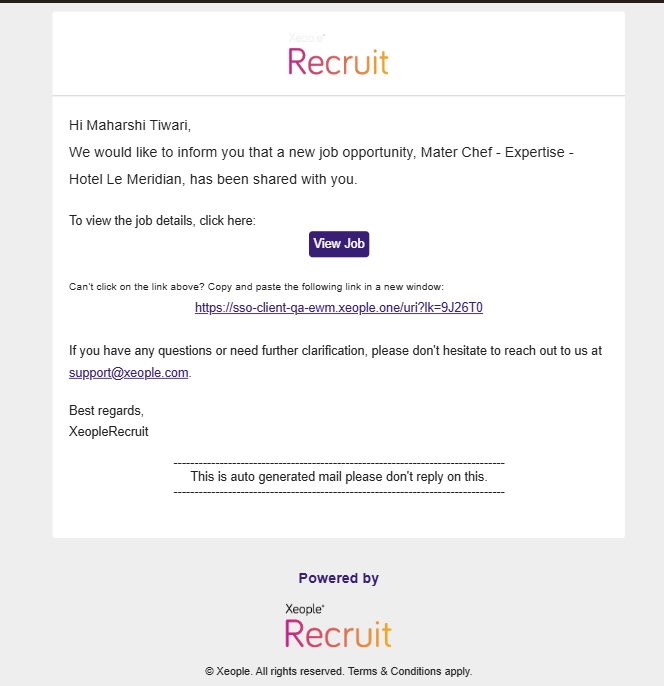
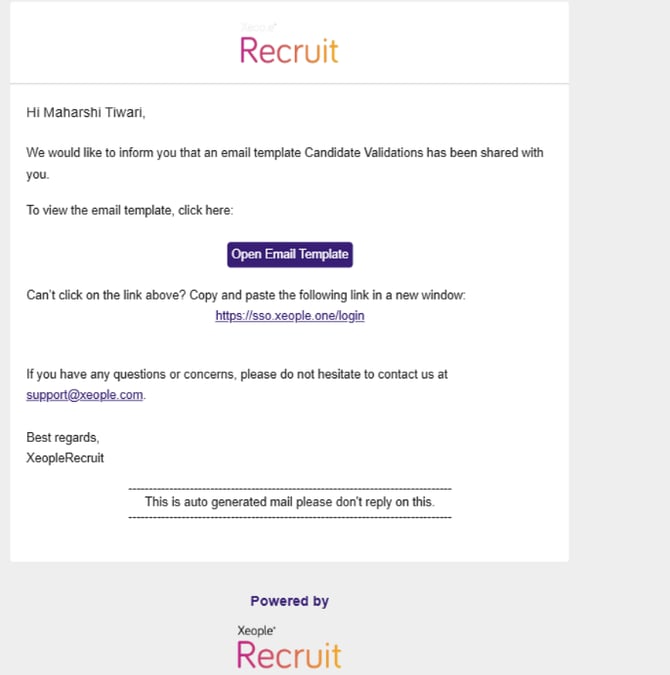
19. When an email template is created in Protected Mode via Profile Picture > My Profile > Email Templates > Add Template, an email notification is automatically sent to the recipient(s) specified in the To field.
To be Continued ...
Back to Top