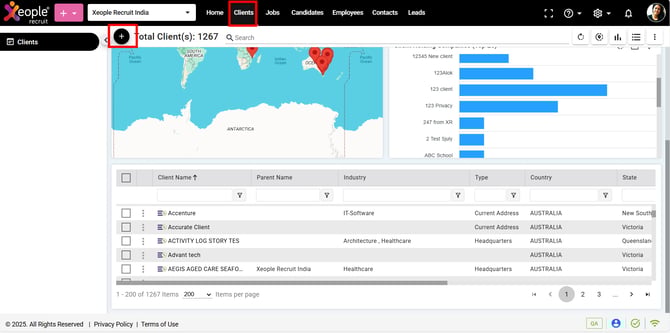
The Client Landing page provides a centralised hub for accessing and managing all created clients. It offers key details such as client name, parent name, industry, state, city, and more.
To navigate to the Job Landing page, follow these steps:
- Navigate to the main navigation header bar and click on Clients.
- You will initially view a default Graph view; scroll to the bottom to access the list of all created clients.
To change the default Graph view to either List or Grid view, simply click on the List/Grid view option located at the top-right corner of your screen.
Clients - Add Client
Actions to perform on the Client Landing page:
-
Create a Client.
- Search: Enables you to quickly find specific clients by searching for keywords or phrases.
- Refresh: Allows you to update the client landing page to ensure you have the most recent information.
- Proximity: The proximity search feature allows you to find clients by entering an address and setting a specific kilometer (KM) range around that address as a permanent filter.
- Graph view: Presents client data in a visual format, providing an overview of client relationships and interactions.
- List or Grid view: Lets you switch between a detailed list view or a condensed grid view for viewing client information according to your preference.
Under the three-dot button:
- Customise Columns: Provides options to customise the displayed columns, allowing you to focus on the most relevant client details. Each column consists of column filter to preform specific searches. For e.g., added EOH ID (client ID received from EOH), Synced By, and Synced On in the action column, allowing you to customise displayed columns based on shared and synced data with EOH.
- Advanced search: Offers advanced search functionality with additional filtering options to refine your search results and find specific clients more efficiently.
- Export: Allows you to export the client list so it can be saved or shared as needed. Super Admin and Admin users have permission to export the client list. There can only be one Super Admin per organisation. If you do not have this access, please contact your Super Admin or Admin to request the export on your behalf.
- Filters and folders: Allows you to filter client data based on various criteria and organise clients into folders for better categorisation and organisation. Added EOH ID, Synced By, Synced On to filter client(s) based on the shared and synced information with EOH.
- Send SMS: This feature allows you to send SMS messages to Client(s), Contacts, Primary Contacts or All. To do this, first select the client(s) using the available checkboxes and then click on Send SMS.
- Send Mail: This feature allows you to send email to Client(s), Contacts, Primary Contacts or All. To do this, first select the client(s) using the available checkboxes and then click on Send Mail.
- In case of Bulk Email (Multiple Client selected):
- When you click Send Mail, a new email screen opens on the right-hand side, automatically populating the client(s) email ID(s) in the To field.
- If you add or remove any, email ID, the system sends emails only to the recipients currently visible in the To field.
- CC and BCC recipients receive one separate email for each person in the To field, and BCC names are hidden from everyone.
- In case of Bulk Email (Multiple Client selected):
Send SMS & Send Mail works for one or multiple selection at a time.
Bulk Email: A corporate Gmail account allows you to send up to 2,000 emails per day, significantly surpassing the 500-email limit imposed on standard Gmail accounts.
- Share Client: Click on the checkbox placed in front of the client’s name to share client with Entire OnHire to maintain a synchronised client repository, ensure data consistency, and streamline job sharing by eliminating redundant entries. It works for one selection at a time.
Recommend reading: To read more details on how to share a client, click here: Create Client.
- Column Filters: You can use the column filters to refine the data displayed in a particular column based on specific criteria or conditions.

Client Landing - Three-dot - Actions
Under the three-dot button placed in front of the client's name:
- View Summary: Will let you navigate to the client summary page where you can find details of client.
- Share Client: Share client with Entire OnHire to maintain a synchronised client repository, ensure data consistency, and streamline job sharing by eliminating redundant entries.
Recommend reading: To view how the client and their details appear in Entire OnHire, click here: ClientProfile.
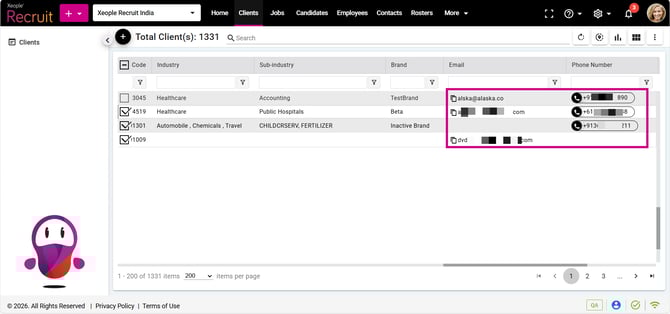
Actions to perform while scrolling right:
- Client Email: Send email to client from here itself.
- Phone Number: Make calls if a calling app is integrated and installed in your system, provided the phone number is available.
Client Landing - Email/Call